

How to Get a “Zero Glue Line” High-End Look on a Standard Edge Bander — Without Investing in a Million-Dollar Laser Machine
Aug 03, 2026
Leave a message
In today's mid-to-high-end panel furniture market - especially for minimalist styles and high-gloss or matte PET doors - a "zero glue line" and a seamless, one-piece look have pretty much become the baseline.
A lot of furniture makers assume that achieving seamless edge banding means you have to ditch your existing setup and sink serious money into a laser or hot-air edge bander. But from years of hands-on line support in real factories, here's what we've learned: by tightening up the physical precision of the edge banding itself, switching to PUR adhesive, and dialing in your current machinery, a standard edge banding line is fully capable of delivering a "zero glue line" that's almost invisible to the naked eye.
Here are the three key technical areas that make it happen.
1. The physical precision of the edge banding sets the lower limit for glue lines
A lot of shops blame an obvious black line or thick glue line on too much adhesive being applied. In reality, the root cause often lies in the cross-sectional accuracy of the edge banding material.
Watch out for micro-warping. Low-grade edge banding tends to release internal stress unevenly during extrusion and cooling, causing the cross-section to take on a subtle "U" shape (edges higher than the center) or an inverted "U." If the band is even slightly inverted-U, its edges can't sit tight against the panel. No matter how hard you crank up the pressure rollers, you'll still be left with micron-level gaps along the edges - gaps that eventually fill up with black dirt and squeezed-out glue residue.
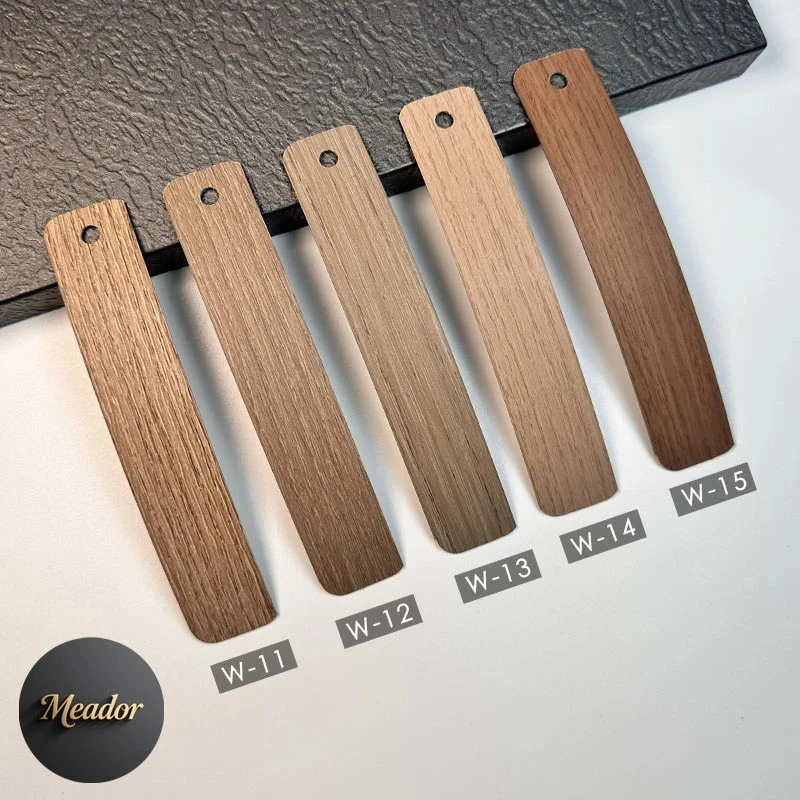
Sourcing tip: Good-quality edge banding has to be exceptionally flat. When you're inspecting a production batch, take a short section, lay it flat on a granite inspection plate, and shine a light from the side to see if any light leaks through the gap underneath. Only edge banding with a dead-flat bottom face can make full contact with the thinnest possible glue film.
2. Color management: it's not just the face color - the base color and the adhesive color have to match too
"Seamless" isn't only about physical tightness; it's also an optical trick. A truly seamless look demands that the cross-section color of the edge banding, the color of its back coating, and the panel's decorative surface all match as closely as possible.
Precise base material tinting: Many standard edge banding products nail the surface color but, to keep costs down, use cheap recycled material in the base layer that looks whitish or greyish. When the trim cutter forms a small radius, that base color gets exposed and creates a noticeable line of mismatched color, instantly breaking the visual unity.
Adhesive color matching: Ditch the traditional yellowish EVA. For dark panels - black-grey, walnut, and the like - you need a matching dark-tone hot melt. For light or white panels, we strongly recommend switching to transparent or pure white PUR hot melt. PUR can be applied at just one-third to one-quarter the thickness of EVA, and that ultra-thin glue layer is the physical prerequisite for a true zero-glue-line result.
3. Fine-tuning your shop equipment: pre-milling and pressure rollers, the two things nobody pays enough attention to
Even with high-precision edge banding and good PUR glue, if your machine isn't in shape, "zero glue line" is just talk.
Pre-milling is absolutely critical. When panels are cut on a beam saw or CNC, the cut edges almost always end up with tiny micro-chips. If you apply edge banding directly without going through a proper pre-milling step, those micro-chipped pockets become little "glue traps." You have to make sure the pre-milling cutters are sharp and the machined edge is as smooth as a mirror before the band goes on.
Pressure roller setup, step by step: Tighter isn't always better. The first big pressure wheel is mainly there to squeeze out air bubbles and achieve initial contact - keep its pressure moderate. The following set of smaller rollers should be fine-tuned in a stepped pattern, making sure the top and bottom edges of the band are pressed firmly and evenly onto the panel. If the roller bearings are worn and starting to wobble, they'll cause tiny shifts at the exact moment of contact, squeezing out excess glue and leaving you with a visible glue line.
The takeaway - and the real cost-saving move
Getting a "zero glue line" finish on a standard automatic edge bander is a system-level effort. At its core, it comes down to this: dead-flat edge banding + an ultra-thin PUR glue layer + a perfectly prepared panel edge.
For a furniture factory, finding a reliable edge banding supplier that can deliver batch after batch with tight control over surface color consistency, trimmed-edge base color, and flatness is, in practice, far more cost-effective than swapping out an expensive machine. That approach doesn't just reduce the risk of heavy equipment depreciation - it also means you can start taking on high-margin, high-end custom orders right away, using the production line you've already got.
Send Inquiry